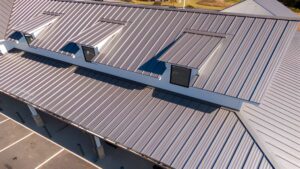
Metal roof installation is a more technical process than most homeowners expect. While the finished product looks straightforward, getting a metal roof to perform correctly for decades depends on dozens of small details, from panel alignment and fastener spacing to flashing details around chimneys and vents. This is why experienced metal roofing specialists follow precise installation methods to ensure long-term durability, weather resistance, and reliable performance. Understanding what the process actually involves helps homeowners set realistic expectations, ask better questions when hiring a contractor, and recognize the difference between a properly installed system and one that will cause problems down the line.
This guide walks through the full installation process from permitting to final inspection, outlines a realistic project timeline, and covers the most common mistakes that shorten a roof’s lifespan when installation is rushed or handled by an inexperienced crew. If you are researching metal roofing specialists or trying to understand what installing a metal roof actually involves, this article covers what to expect at each stage.
Why Professional Installation Matters More With Metal Roofing
Metal roofing performs differently than asphalt shingles during installation. Panels expand and contract with temperature changes, seams need to be sealed or interlocked correctly to prevent water intrusion, and fastener placement affects both wind resistance and long term durability. Small errors that might be forgivable on a shingle roof, such as slightly inconsistent spacing or minor misalignment, can lead to leaks, panel movement, or premature wear on a metal system.
This is one of the main reasons experienced metal roofing installation contractors emphasize precision at every stage of the project, and why DIY installation carries significantly more risk with metal panels than with more forgiving materials.
The Metal Roof Installation Process Step by Step
Step 1: Initial Inspection and Measurement
Before any work begins, a contractor inspects the existing roof structure, measures the roof dimensions and pitch, and evaluates the condition of the decking underneath. This step determines whether the existing decking can support the new system or whether repairs are needed first. Roof pitch also affects which panel profiles and underlayment systems are appropriate for the project.
Step 2: Material Selection and Ordering
Based on the inspection, the contractor helps the homeowner select panel material, gauge, profile, and finish color. Since metal panels are typically manufactured to specific measurements, accurate initial measurements at this stage prevent delays or material shortages later in the project.
Step 3: Permitting
Most municipalities in Texas require a permit for roof replacement or new roof installation, particularly when the project involves structural changes or a full tear off. A reputable contractor handles the permitting process on the homeowner’s behalf, ensuring the project meets local building codes, wind load requirements, and any applicable HOA guidelines before work begins.
Step 4: Tear Off or Overlay Decision
Depending on the condition of the existing roof, installers either remove the old roofing material entirely or, in some cases, install the new metal system over existing shingles using a compatible underlayment and furring strip system. A full tear off is generally recommended when the decking needs inspection or repair, since it allows installers to address any hidden damage before the new system goes on.
Step 5: Decking Repair and Preparation
Any damaged or rotted decking is repaired or replaced at this stage. Skipping this step is one of the more serious shortcuts an inexperienced crew might take, since installing panels over compromised decking undermines the entire system regardless of panel quality.
Step 6: Underlayment Installation
A synthetic underlayment is installed across the entire roof deck to provide a secondary moisture barrier. This layer protects the decking even if water ever gets past the metal panels themselves, and it plays an important role in the overall performance and lifespan of the finished roof.
Step 7: Flashing Installation
Flashing is installed around all roof penetrations, including chimneys, vents, skylights, and valleys where two roof planes meet. Flashing details are one of the most common points of failure in poorly executed installations, since these areas require precise cutting and sealing to prevent water intrusion.
Step 8: Panel Installation
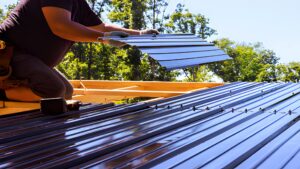
Panels are installed according to the manufacturer’s specifications, working systematically across the roof to maintain proper alignment and overlap. Fastener spacing and torque are critical at this stage, particularly for exposed fastener systems, since over tightened or under tightened screws can compromise the seal around each fastener point.
Step 9: Trim, Ridge Cap, and Accessory Installation
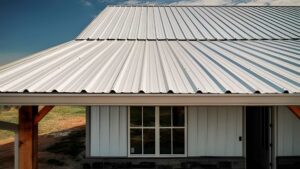
Once the main panels are in place, installers add ridge caps, edge trim, and any additional accessories such as snow guards or vents. These components complete the weatherproofing system and give the roof its finished appearance.
Step 10: Final Inspection and Cleanup
A thorough final inspection checks that all seams, flashing points, and fasteners meet specification. Reputable contractors also conduct a site cleanup to remove debris, old materials, and any stray fasteners from the property before considering the project complete..
Safety Standards During Installation
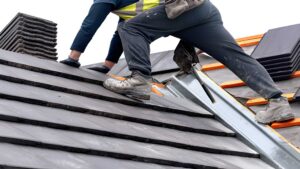
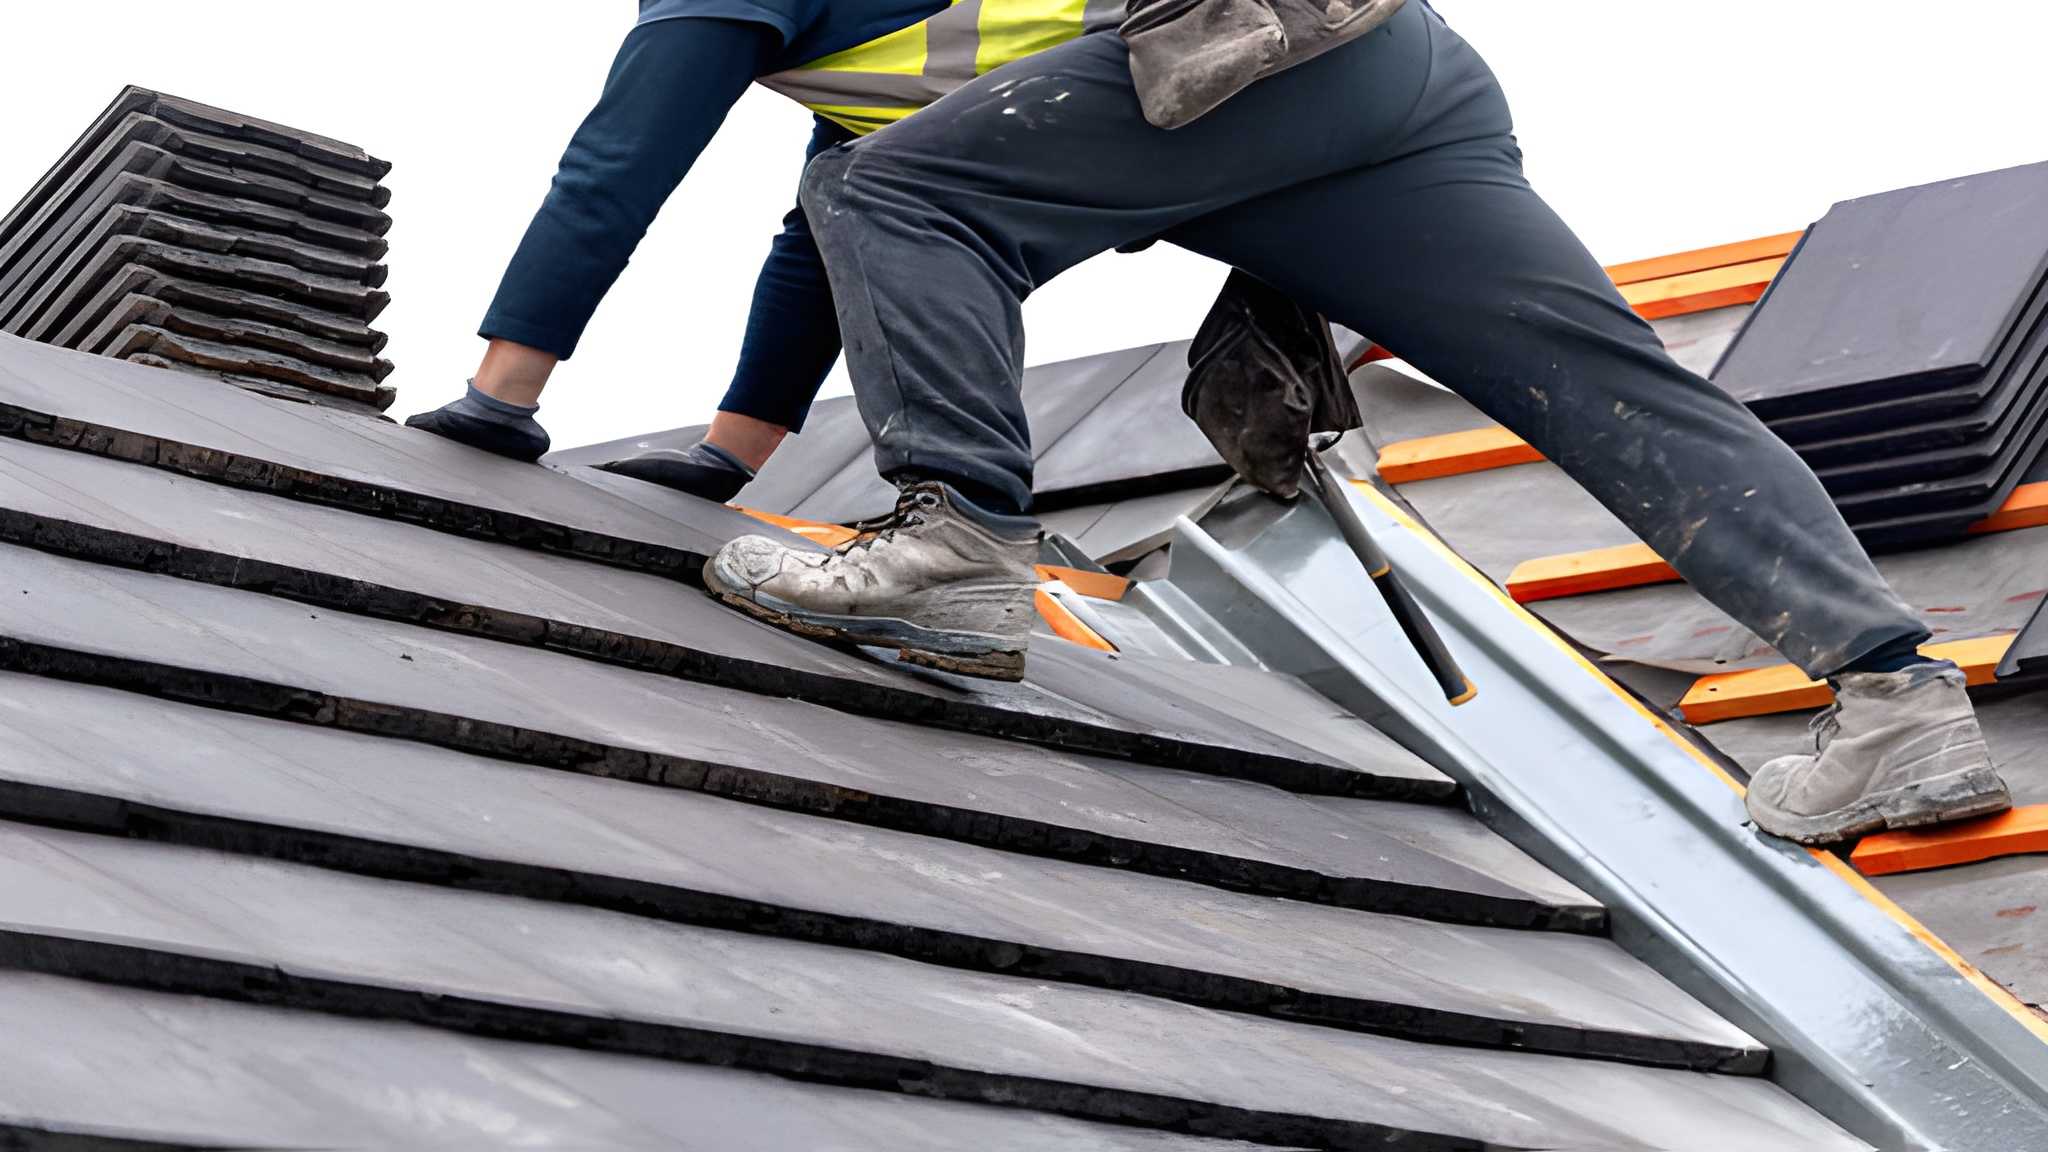
Metal roof installation involves working at height on a surface that can become slippery, particularly when panels are wet or during early morning dew. Reputable metal roofing installation contractors follow OSHA guidelines for fall protection, including harnesses, guardrails, or safety nets depending on the roof pitch and height. Crews also use appropriate footwear and take precautions to avoid scratching panel finishes during handling and installation.
Homeowners should ask any contractor they are considering about their safety protocols and whether their crews carry appropriate insurance coverage, since this protects both the workers and the homeowner in the event of an accident on the property.
Inspection Checkpoints Throughout the Project
Quality focused contractors build inspection checkpoints into the installation process rather than only inspecting at the end. Common checkpoints include a decking inspection before underlayment goes down, a flashing inspection before panels are installed over penetrations, and a fastener inspection during panel installation to confirm consistent spacing and torque. Some municipalities also require a permit inspection at specific stages, particularly for full tear off projects, which adds an additional layer of verification beyond the contractor’s own quality checks.
Common Metal Roof Installation Mistakes to Avoid
Several recurring mistakes account for most of the problems that show up in poorly installed metal roofs.
Incorrect fastener spacing or torque. Fasteners that are too loose allow movement and water intrusion, while over tightened fasteners can compress the sealing washer and cause premature failure.
Skipping or reusing underlayment. Some lower cost installations skip synthetic underlayment or reuse old felt paper, which reduces the roof’s secondary moisture protection.
Poor flashing work around penetrations. Rushed or imprecise flashing installation around chimneys, vents, and valleys is one of the most common sources of leaks in metal roofing systems.
Installing over damaged decking. Covering up rotted or weakened decking without repair undermines the structural integrity of the entire system, regardless of panel quality.
Mismatched panel and fastener materials. Using fasteners or trim made from a different metal than the panels can cause galvanic corrosion over time, particularly at contact points.
Inadequate expansion allowance. Metal panels expand and contract with temperature changes, and installations that do not account for this movement can develop stress cracks or fastener failure over time.
Ignoring local wind and impact ratings. Installing a panel system not rated for local wind speeds or hail impact levels increases the risk of damage during severe weather events common across Texas.
Avoiding these mistakes comes down almost entirely to hiring experienced, qualified installers who follow manufacturer specifications and local building codes closely.
Why DIY Metal Roof Installation Carries Significant Risk
While some experienced homeowners attempt DIY installation on smaller structures such as sheds or garages, installing a metal roof on a full residential structure typically requires specialized tools, safety equipment, and knowledge of manufacturer specifications that most homeowners do not have on hand. Beyond the physical risk of working at height, mistakes in flashing, fastening, or underlayment installation are often not visible until a leak develops months or years later, at which point diagnosing and repairing the underlying issue can be more costly than the original installation would have been.
Manufacturer warranties also frequently require installation by a certified or approved installer to remain valid, which means a DIY installation could leave a homeowner without warranty protection even if the materials themselves were purchased new.
Finding Qualified Metal Roofing Installation Contractors
Because installation quality has such a direct impact on how a metal roof performs over time, choosing the right contractor is one of the most important decisions in the process. Homeowners in the Frisco area looking for a Metal Roofing Contractor in Frisco TX can get guidance on panel selection, permitting requirements, and realistic project timelines specific to North Texas. If you are comparing metal roofing Frisco providers, ask each one about their experience with local wind and hail ratings, since these vary by region and affect which panel systems are appropriate.
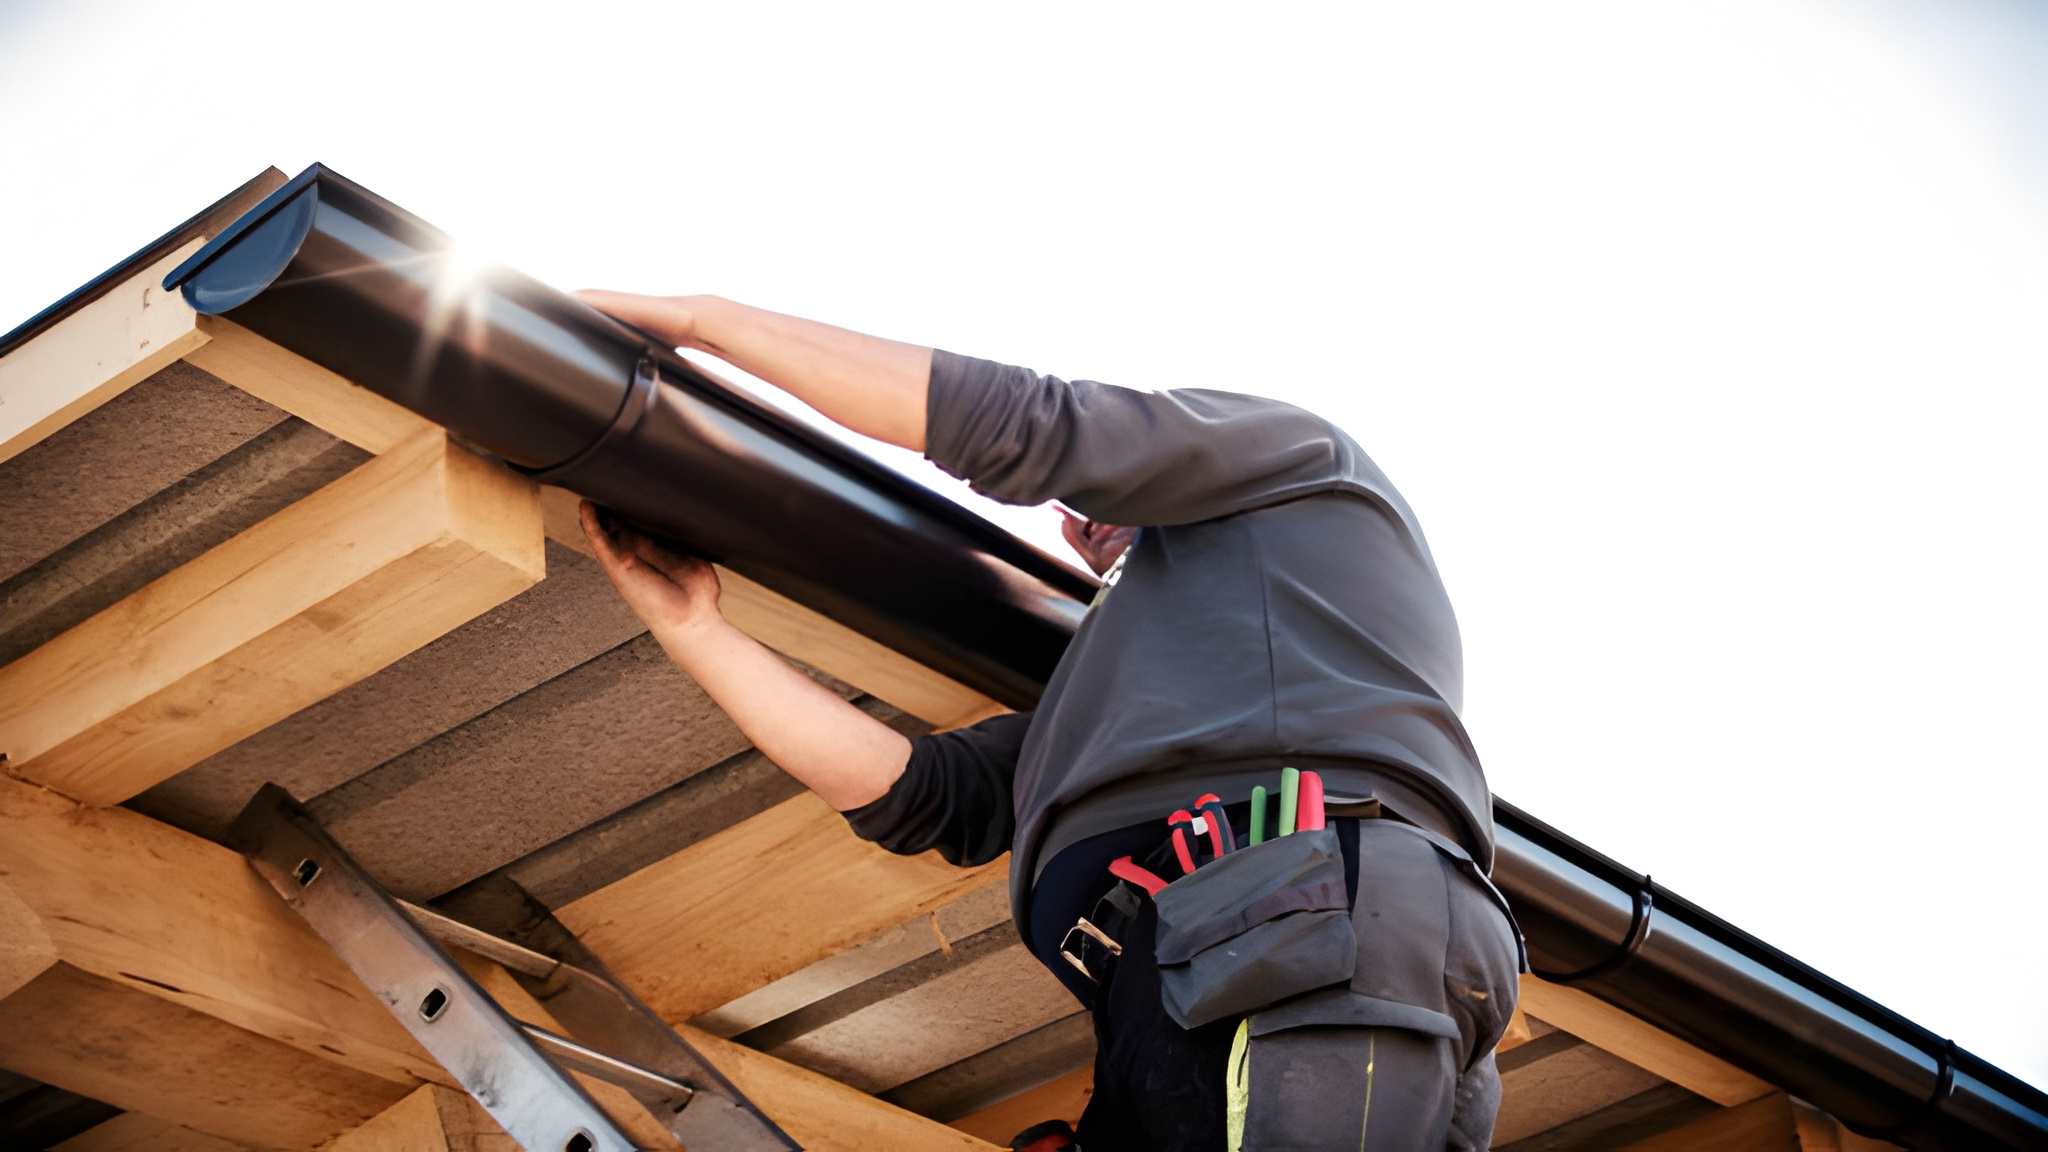
For homeowners planning roofing installation in Frisco projects, it also helps to ask about crew certifications, safety protocols, and whether the contractor handles permitting directly or expects the homeowner to manage that process separately.
When evaluating providers of metal roofing in Texas, ask to see examples of completed projects several years after installation rather than only freshly finished work, since that gives a more accurate picture of how well the flashing, seams, and fasteners have held up over time. A qualified metal roof experts team should be comfortable answering detailed questions about fastener type, underlayment brand, and expansion allowance without hesitation.
Questions to Ask Before Hiring an Installer
A few direct questions can help homeowners evaluate whether a contractor follows the standards outlined in this guide.
Do you handle permitting, and how long does that typically take in this area
What underlayment brand and type do you use, and is it synthetic
How do you handle fastener spacing and torque quality control during installation
Can you provide references from projects completed at least three to five years ago
What does your workmanship warranty cover, and for how long
Are your crews trained specifically in metal roofing installation, not just general roofing
A contractor who answers these questions clearly and specifically, rather than with vague reassurances, is generally a stronger indicator of installation quality than pricing alone.
Conclusion
Metal roof installation is a detailed, multi stage process where precision at each step directly affects how the finished roof performs for decades. From accurate initial measurements and proper permitting to careful flashing work and correct fastener installation, every stage matters. Understanding this process equips homeowners to ask better questions, recognize quality workmanship, and avoid the common mistakes that lead to leaks or premature wear.
If you are planning a metal roof installation and want a clear, detailed walk through of the process for your specific property, reach out to discuss your project and get an accurate assessment. Contact Texas Roofing Specialists for a consultation on your installation project.